

How To Create A Weathered Wood Look With Paint
Now that we have stopped moving around the country, and have settled into a house (finally) I'm really enjoying being able to do the things I want to do. I love working with wood and that is just something you don't get to do a whole lot of while moving around. Today I'm going to share with you how to weather wood for when you want new wood to look old! (See how I use this technique on a Wood Shim Vase).
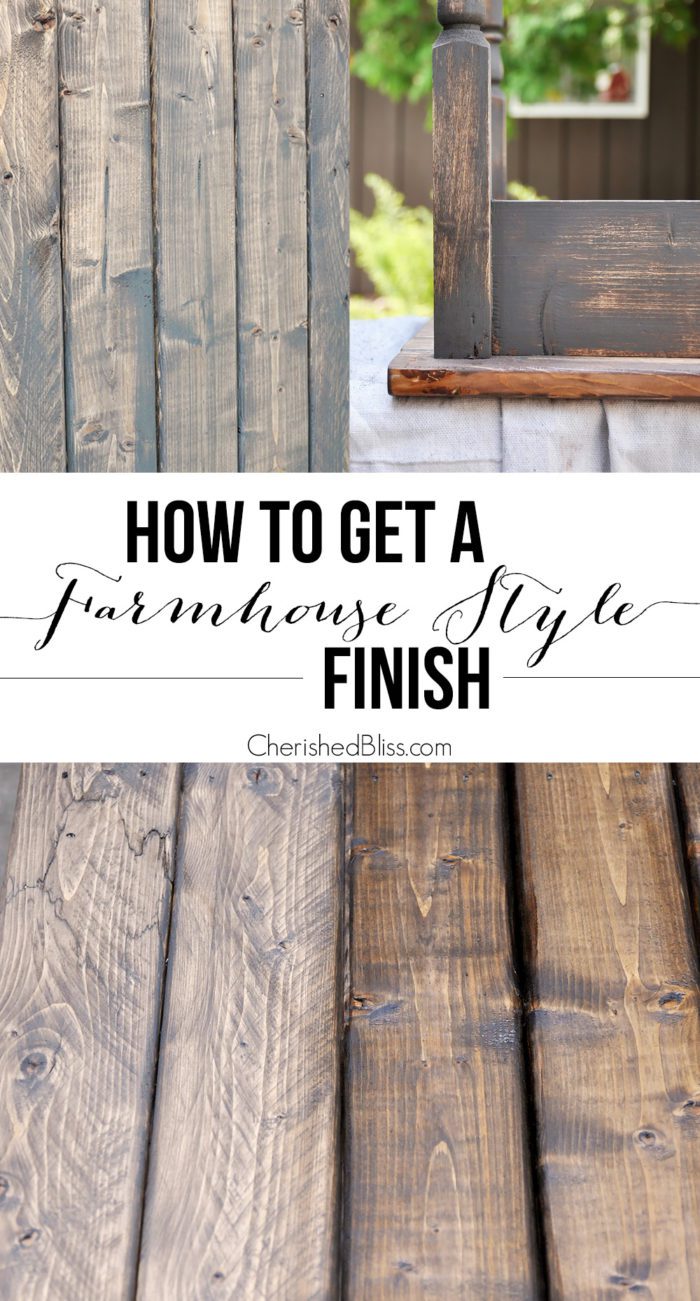
Update: I now have a tutorial on a Farmhouse Style Finish, you can check that out here!

Before we get started, you will need to know how to make my DIY Wood Stain. So go ahead and make that, because it needs to sit for at least 24 hours before you can use it! This will give you time to gather up all your other supplies and do any prep work! So let's talk about all the other supplies you will need to weather wood!
Supplies:
Some supplies listed below are affiliate links. These links help this blog make a profit at no additional cost to you and help keep the free tutorials coming! Thanks for your support!
– DIY Wood Stain
– Minwax Dark Walnut Stain
– Lint free cloth or brush
– White Acrylic Paint (or any appropriate kind of white paint)
– Steel Wool (Grade 2 – Coarse)
– Gloves
– Protective Eye Wear (safety first!)
How to Weather Wood
Let's talk about our wood real quick. For this tutorial I am using regular ole wood shims, so depending on the type of wood you will be working with, the overall look might vary. Different woods soak up things differently. I just want you to be aware of that before you get started, so you might want to test it somewhere if you have a specific look in mind, ok? Ok! So first you are going to stain your wood with the Minwax Dark Walnut using your lint free cloth (or brush) and let this dry. If you are finishing a piece of furniture you might want to give it a light sanding when you are done. I didn't do this since I was just working with wood shims, but you should sand between coats if you are looking for a nice finish!
 Once that has dried (and sanded if necessary) You are going to dry brush on a thin coat of white acrylic paint. If you aren't familiar with dry brushing first put some paint on a paper plate and spread it out kinda thin, then take a dry brush (I like to use the cheap ones from Wal Mart for this) and just get a tiny bit of paint on the end of the bristles. Try and ignore my wintery dried out hands and focus on the paint ; )
 Now you are going to just brush this along the wood, re dip in the paint as necessary, but don't get carried away because you want your brush to remain dry, so get every bit of paint off you can before you get more on there. When you are done it should look like this.

Once your paint dries, you are going to sand and distress it with your Grade 2 Steel Wool. This is where you are going to want to wear your gloves and wear protective eye wear. Trust me on the gloves, steel wool will be sticking out of your fingers! No fun! Keep sanding until you are happy with the look!

Now clean off any dust residue on your wood, and you are going to apply a coat of the DIY Wood Stain that we just made with the same grade steel wool you used to make your stain! Let fully dry before you apply another coat, because the color does change quite a bit once dry. When you are happy with how it looks, give it a light sanding with a dry piece of the steel wool you applied the stain with. So here is a visual of how the process will look and how the wood changes.

And that's How to Weather Wood
Now you can seal it with your favorite Polyacrylic and finish up any final steps you might have!
What project do you want to try this on?

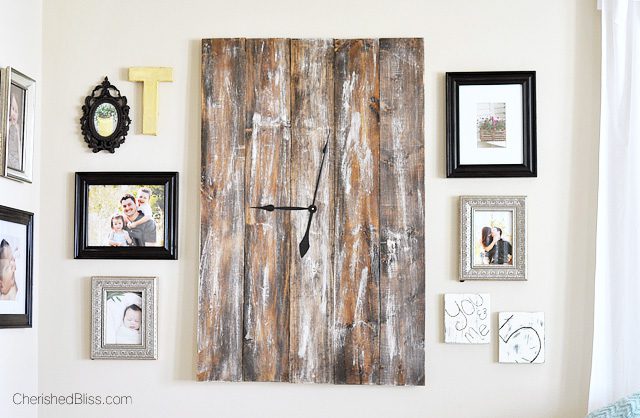
If you make anything with this process, I would love to see how it turns out, you can check out my Rustic Wooden Clock Tutorial
Visit Cherished Bliss's profile on Pinterest.
How To Create A Weathered Wood Look With Paint
Source: https://cherishedbliss.com/how-to-weather-wood/
Posted by: woodardaffeekly.blogspot.com
0 Response to "How To Create A Weathered Wood Look With Paint"
Post a Comment